
Click the Pictures for Larger Versions
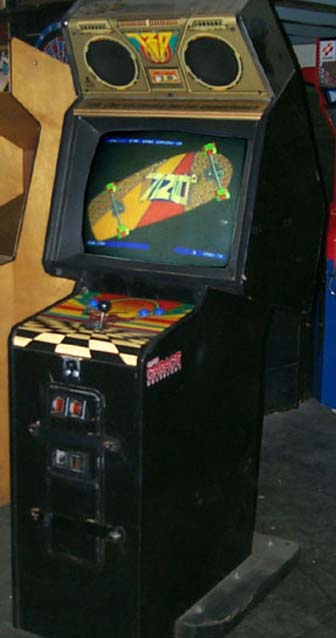
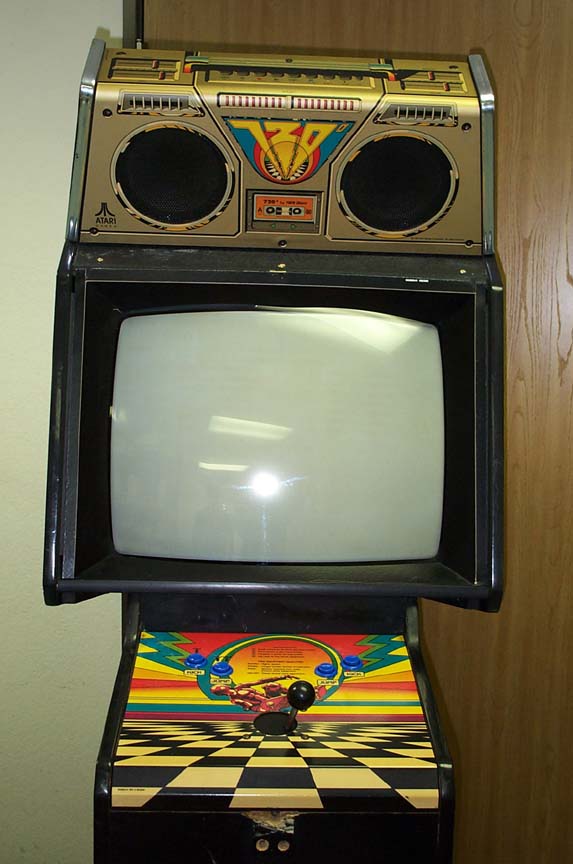
I went and picked up the 720 based on these two pictures from Ebay. It was extremely dirty, and like so many games, had some serious arcade battle wounds. With the exception of the marquee light and coin-door, all electronics worked perfect.


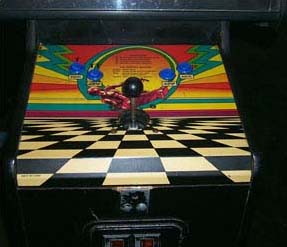
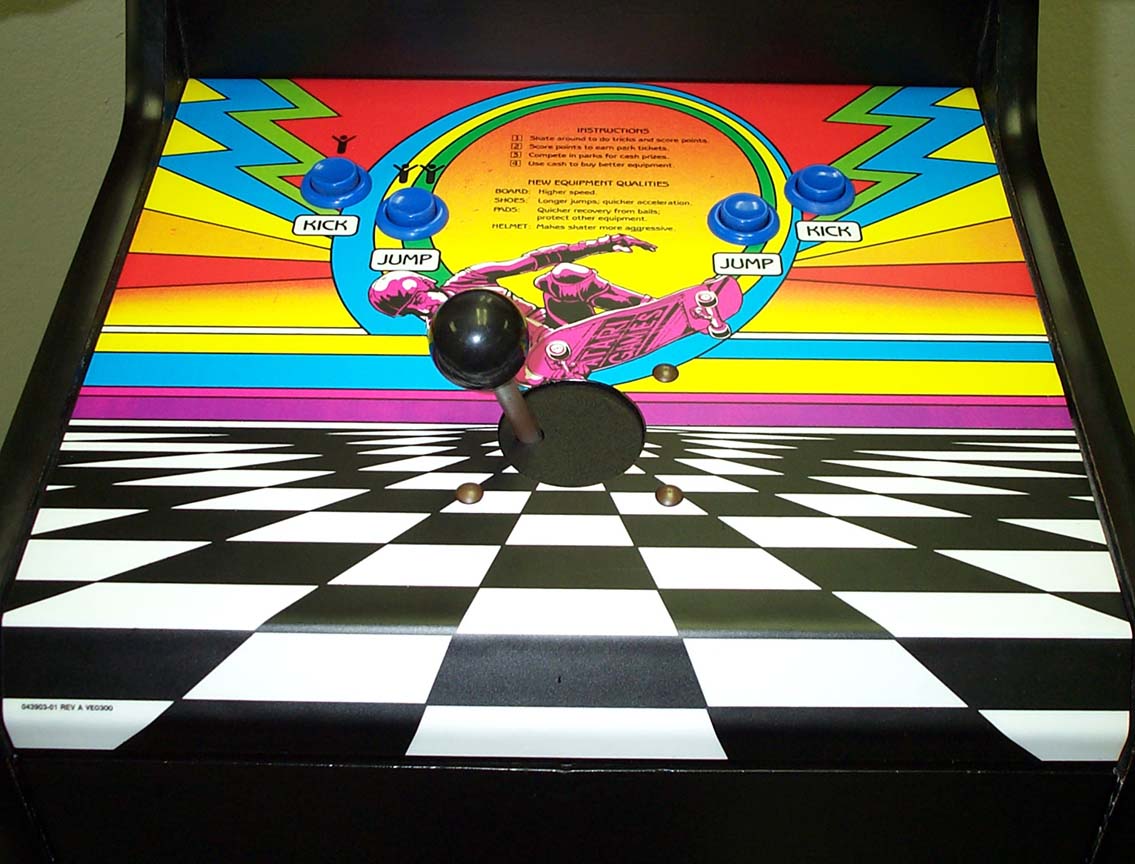
I gave it a good cleaning; then removed the "720-Ultimate Aerial Experience" nameplate and the monitor glass which was extremely scratched. At this point I pulled the joystick out, took it apart, cleaned it, and put it back together. Gameplay was much improved. This was when I made a list of improvements Id like to make.
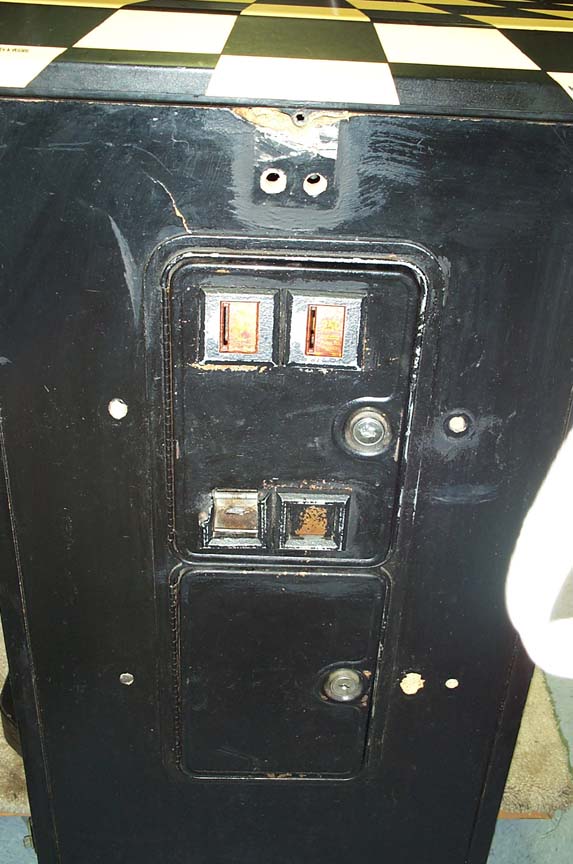
The game had a couple large bars with hooks sunk into the front panel to secure the coin door. There was also a metal plate added to the top of the front panel into which a screw fit to secure the control panel. Removing these left several large holes in the panel, and one gaping "chunk" missing from the top.

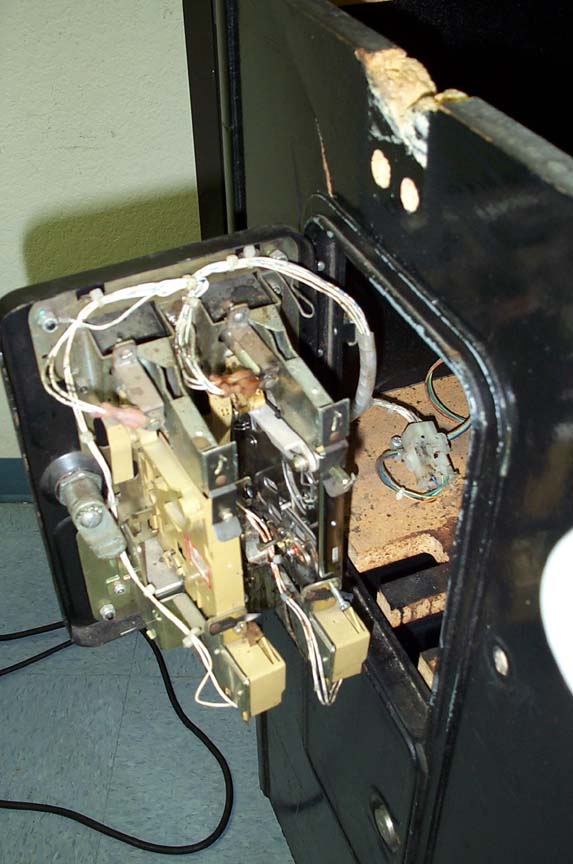
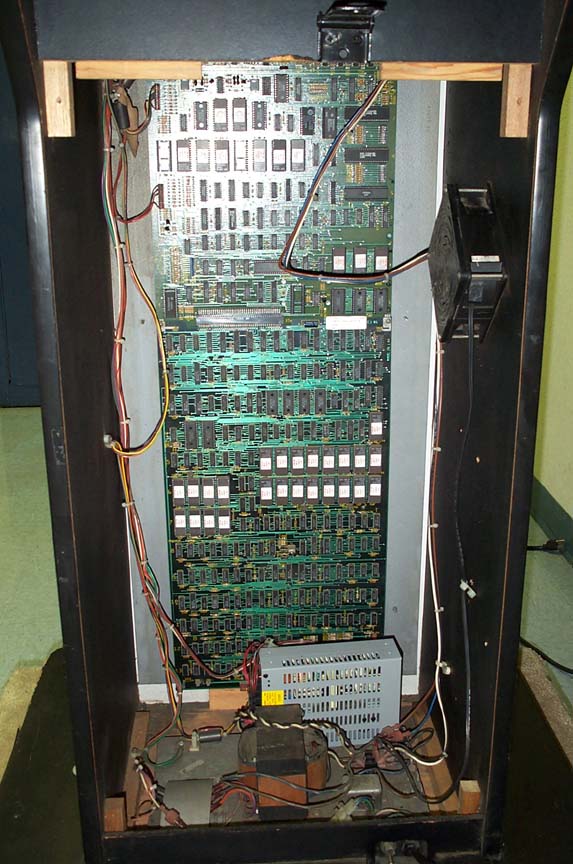
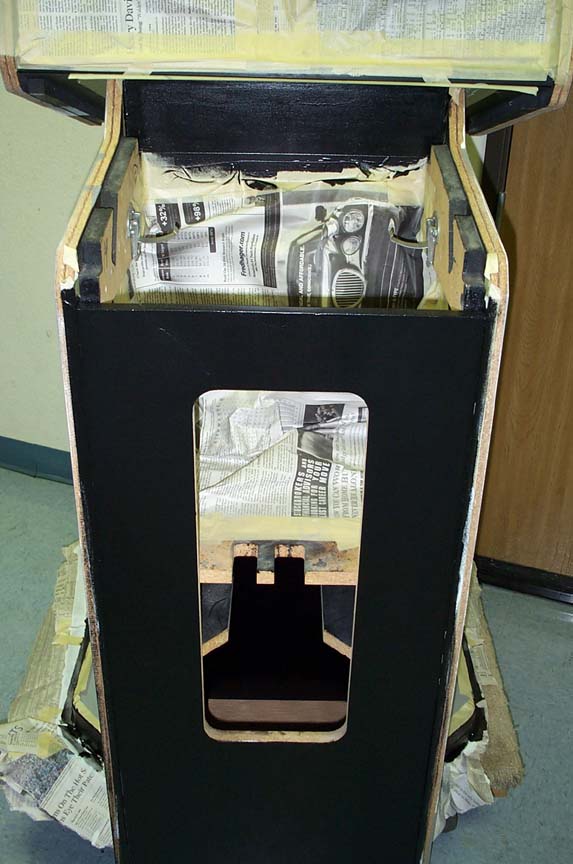
At this stage I opened up the various access panels and cleaned out the inside as best I could. I used a shop vac and pulled out a lifetime of dust build up, and some sort of dried, sticky liquid spill in the front. The guy I got it from said it was in a Pizza joint, so I'm guessing it had a soda poured into it.
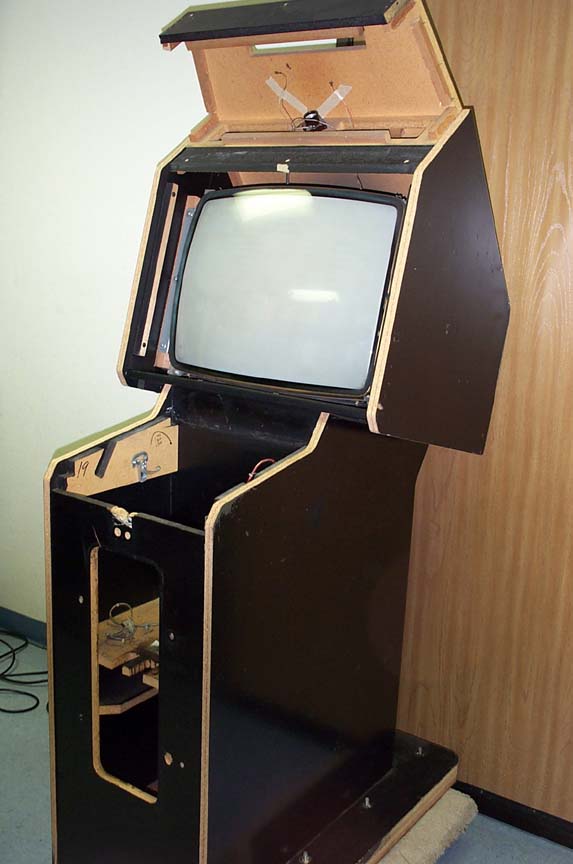
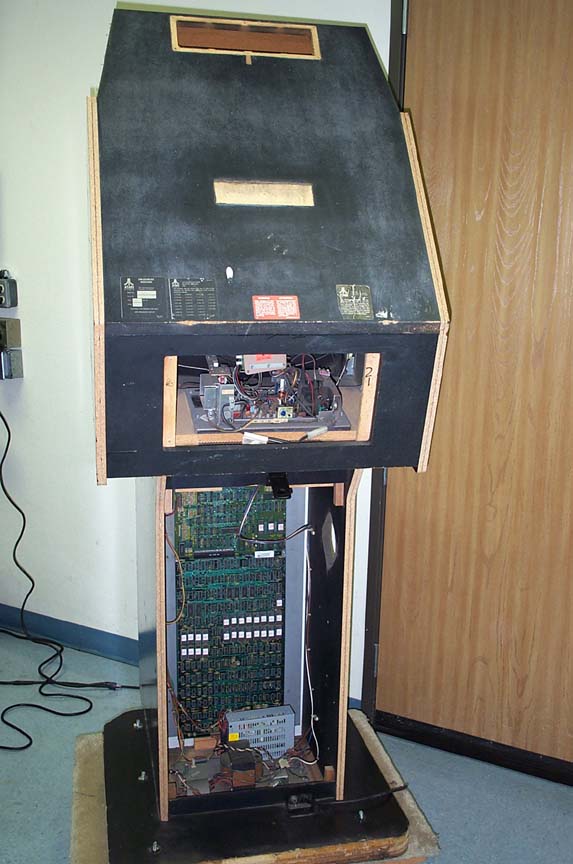
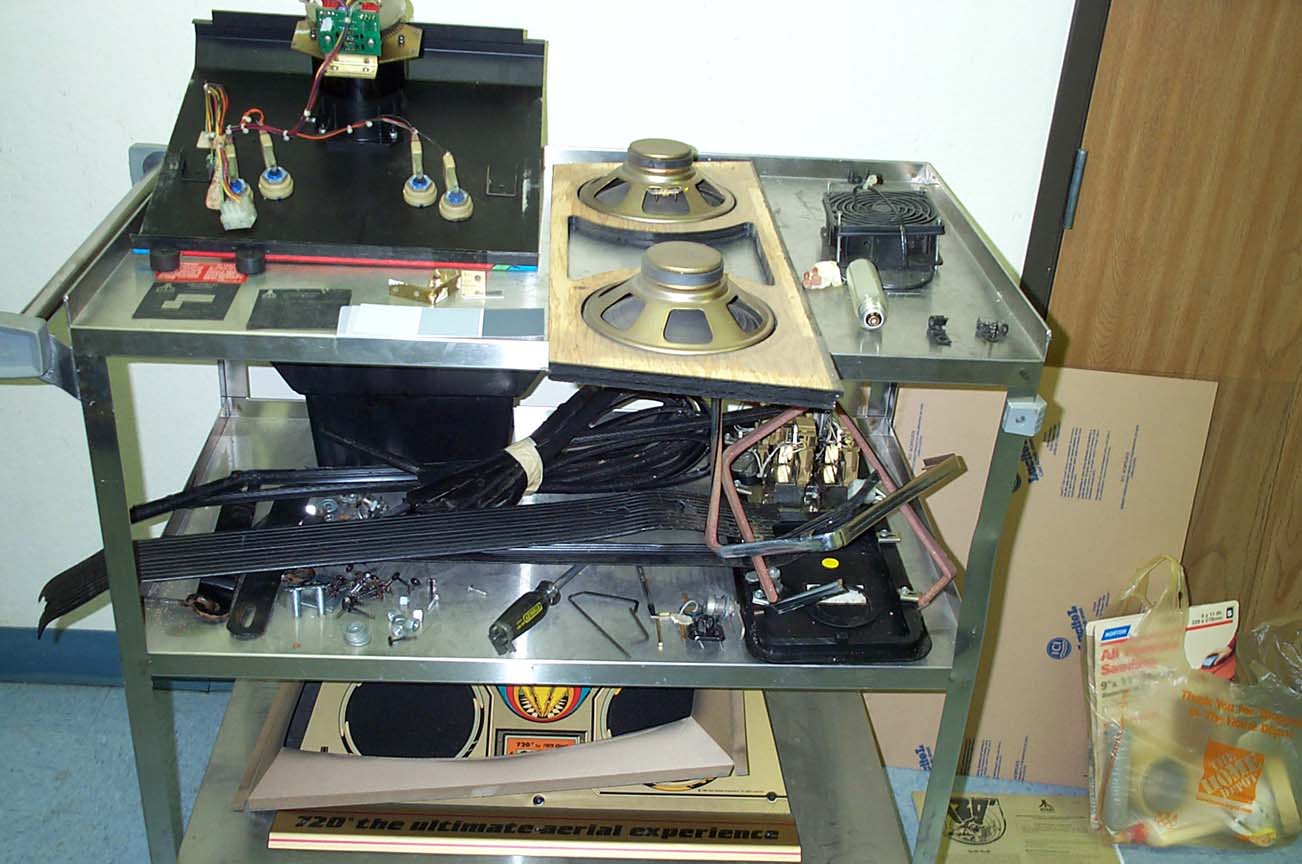
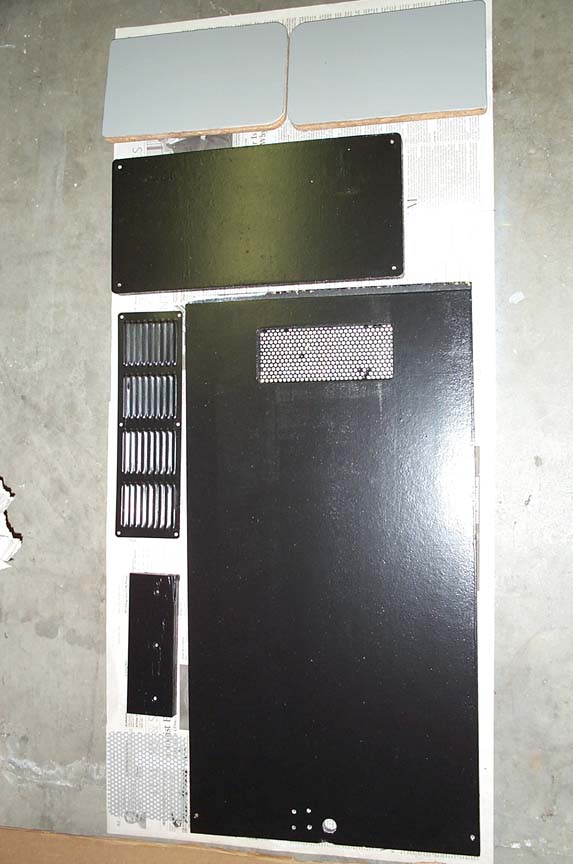
Next, I stripped the machine as much as I dared. Being a restoration rookie, I wasnt up for removing the boards or other electronics. I did take off the control panel, the boom box overlay, the speaker assembly, the marquee bulb, the coin door, all the rear panels, and the fan cover. I also pulled off the standard 3/4" T-Molding, and the 2 1/4" T-Molding on the base. I'm still looking for replacement 2 1/4" Black, Ribbed, T-Molding. If you know where to get it, please contact me. In the right hand picture you can see everything I removed including the decals from the back, the cooling fan, old T-Molding, and the Monitor Bezel on the bottom. Off to the right is the new plexiglass monitor cover, still with its brown paper covering.
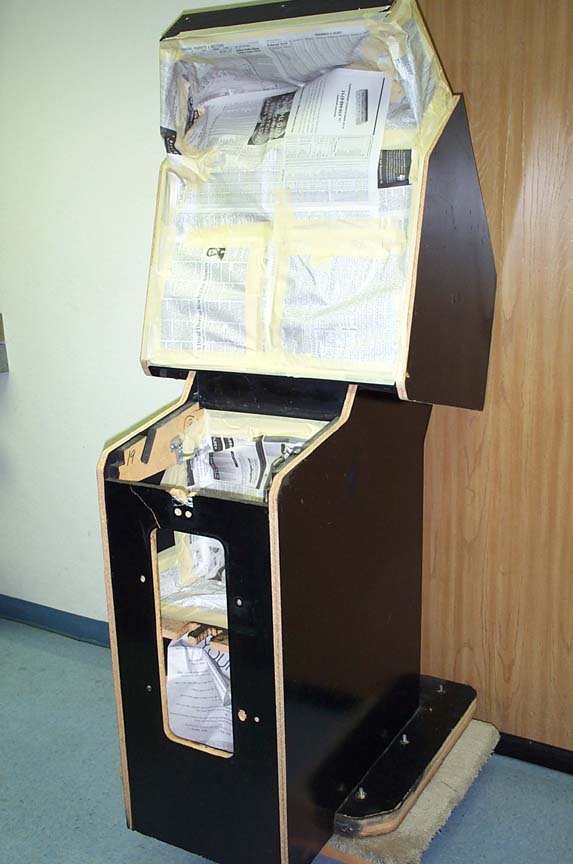
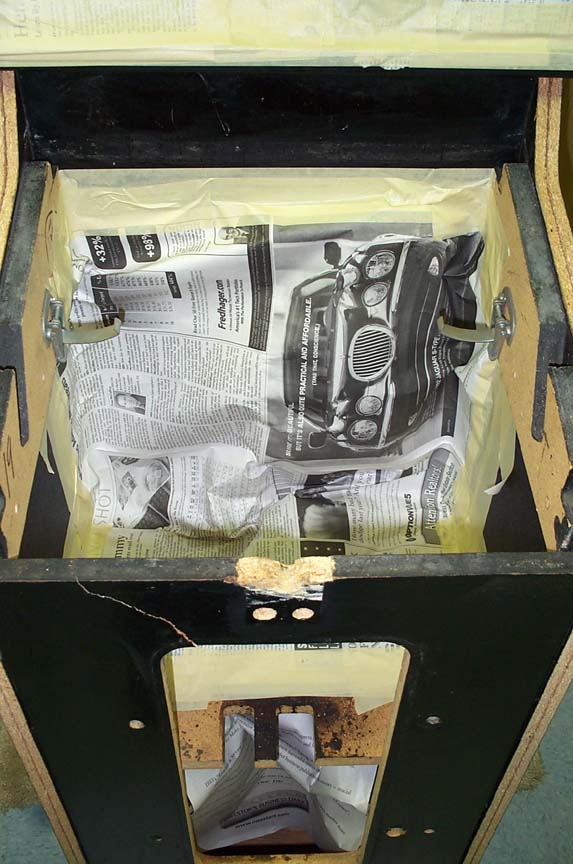
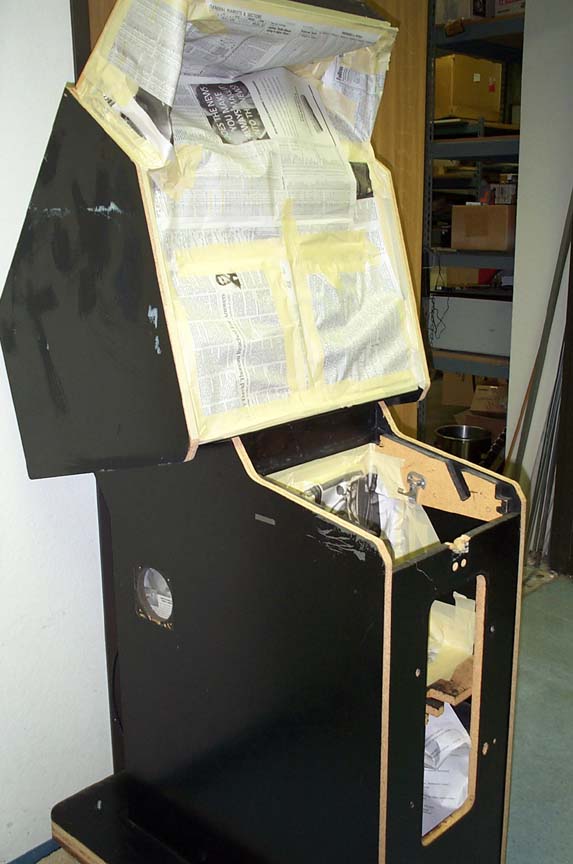

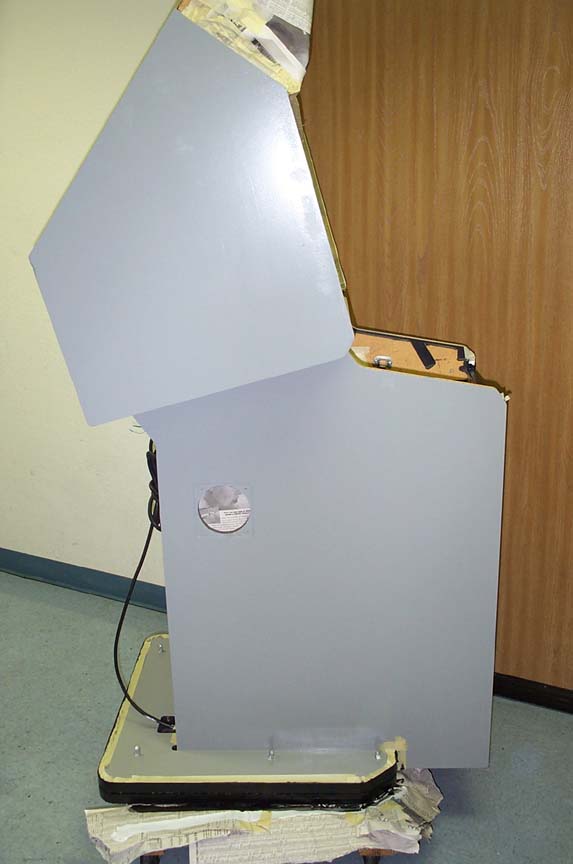
Next up I masked the monitor and electronics for sanding and painting. I knew Id be rolling on the paint, but I wanted a sealed, tight masking job, to keep "sanding dust" out of the electronics. Once done, I filled the holes and missing parts of the front panel with wood putty and sanded them down. The crack at the top had about a 1/8" separation. I squeezed in as much wood glue in as I could, and then held it shut with a C-clamp. After sanding, it was completely smooth. I then sanded the entire cabinet with an electric sander, using a relatively coarse grade paper. I almost completely removed the outer (black) layer of paint. I then went over the entire thing with a lighter grade paper to prep for priming.


And then I painted. Unfortunately, I dont have any pictures of the interim stages, but it was definitely a multi-step process. For the entire paint job I used a very fine foam roller. I found this applied an extremely flat surface, with almost no texture at all. I began with a single coat of primer, when dry I switched to the main paint, a latex based, indoor, semi-gloss enamel. I did three coats of the gray. A day later I re-masked a few areas, and did three coats of black. I believe I matched the original vinyl color fairly close except for the fact that I painted the base black, since I couldnt find the correct T-Molding. I also painted the various panels I had removed.

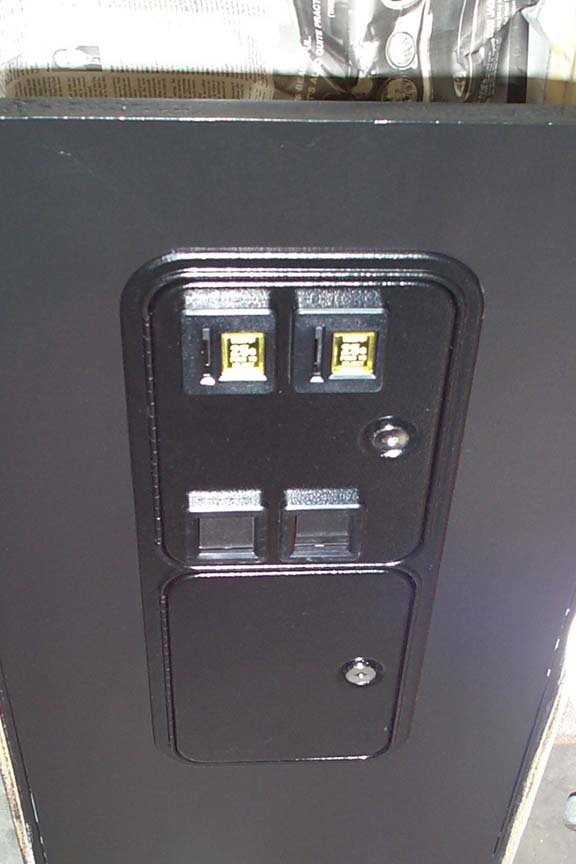
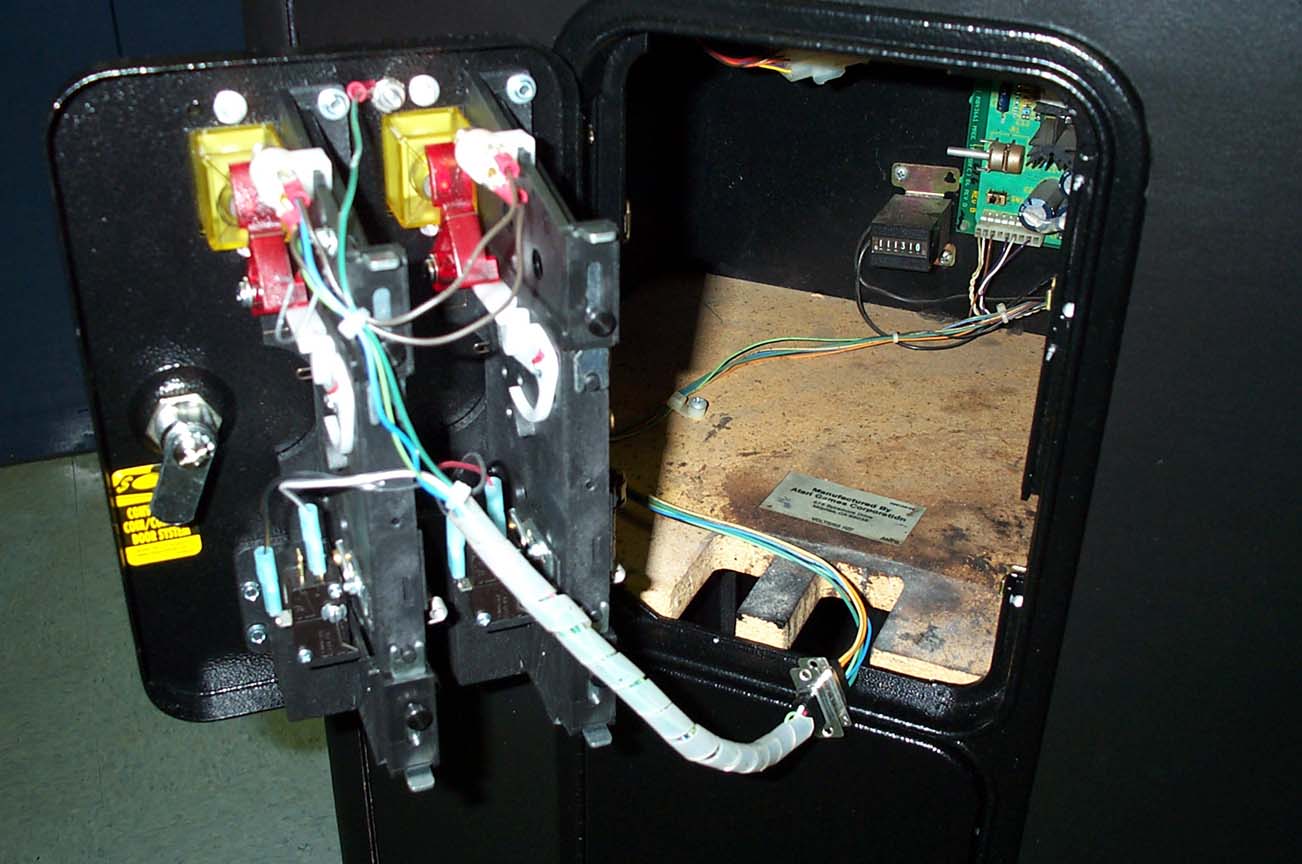
About this time my new coin door from Happ Controls arrived and was promptly installed. I was pretty happy with the outcome of the front panel. It was the most damaged portion of the game when I received it.

Next up, I pulled off all the masking, set the control panel back in, taped the speaker assembly up to the top, and gave it a quick test. After that, I installed the new T-Molding (Chrome and Black) and monitor cover, and re-attached the nameplate and boom-box overlay.


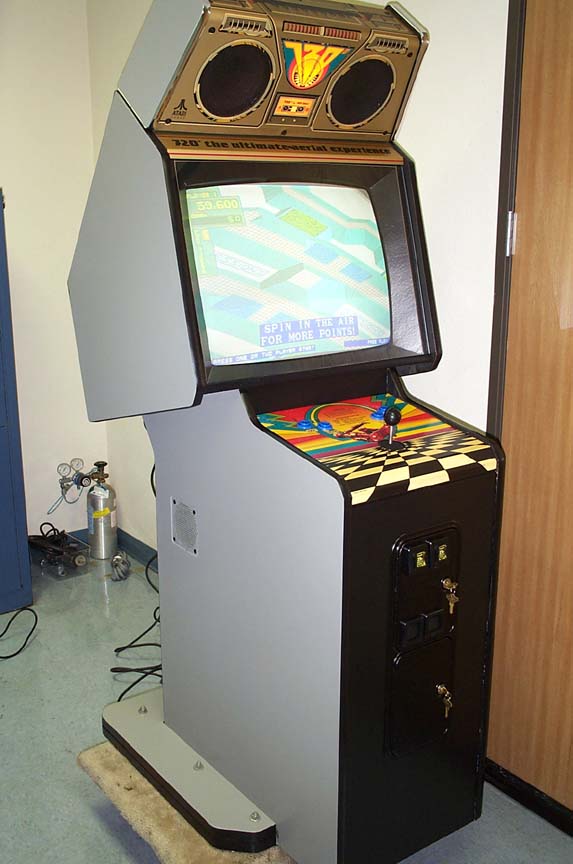
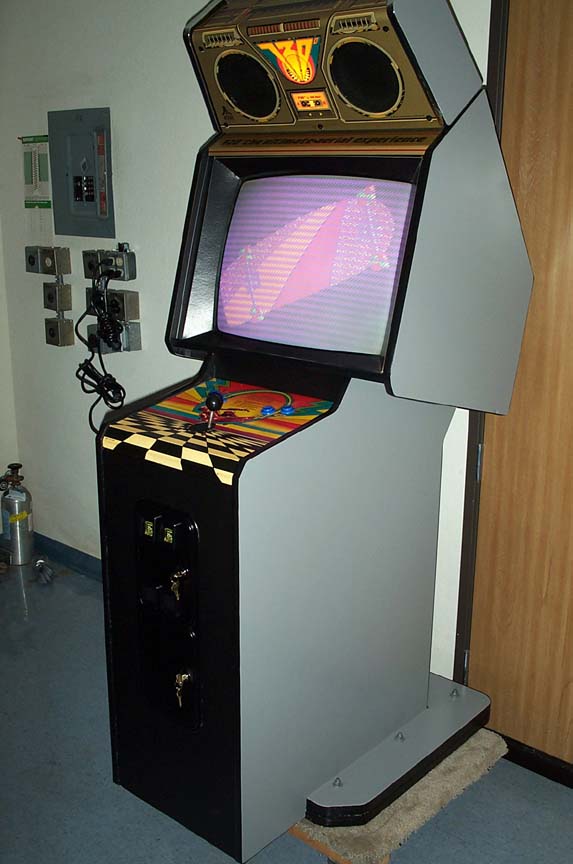
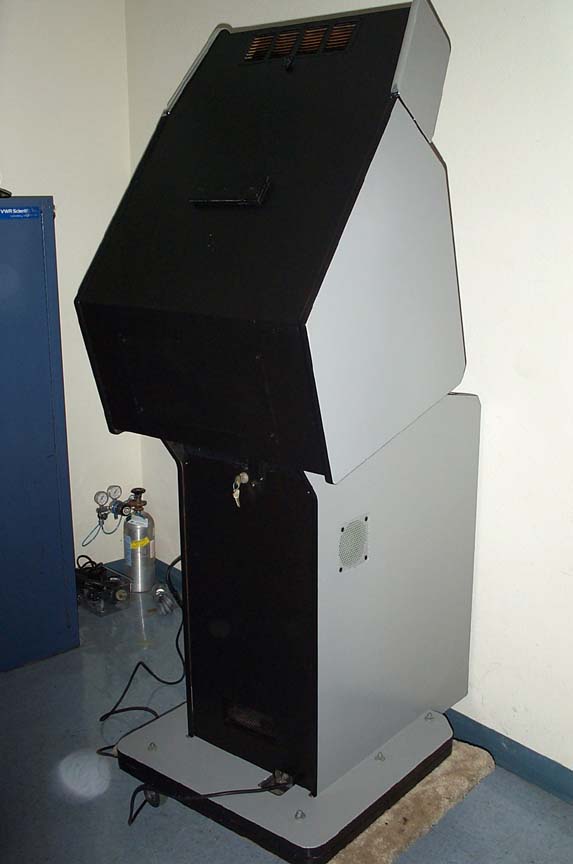
For the final touches, I added a brand new control panel overlay I picked up from TNT, a new set of side art from Arcadeshop Amusements, and a new boom box overlay and nameplate decal. I also stuck the original ID and warning labels on the back. So now Im done and Im very happy with how it looks.

All content © 2002-2014, Jeff Civitate, all rights reserved.
All content © 2009-2015, all rights reserved.